If you own an Amazon Fire tablet, you may have wondered how tocapture an image of your screen. Screenshots are a handy way to save any information or share images with others. Fortunately, taking a screenshot on your Fire tablet is quick and easy. We will show you how to screenshot Amazon Fire tablet, as well as how to edit and share your screenshots.
How To Take A Screenshot On An Amazon Fire Tablet
Taking a screenshot on an Amazon Fire tablet is a simple and straightforward process. You can take a screenshot of anything that is displayed on your tablet's screen, including app screens, websites, and images. Here are the steps to take a screenshot on your Amazon Fire tablet:
- Locate the Power and Volume Down buttons- The Power and Volume Down buttons are usually located on the right or left side of the tablet, depending on the model. The Volume Down button is usually the button closer to the edge of the tablet.
- Press and hold the Power and Volume Down buttons simultaneously - Press and hold both buttons for a few seconds until you hear a camera shutter sound or see a brief animation on the screen. This indicates that the screenshot has been taken.
- Find your screenshot- Your screenshot will be saved in the tablet's photo gallery app. You can find it by opening the app and looking for the most recent screenshot.
That's it! You have successfully taken a screenshot on your Amazon Fire tablet. The process is the same for all models of the tablet, including the Fire HD 8, Fire HD 10, and Fire 7.
How And Where Your Screenshots Are Saved On Your Amazon Fire Tablet
Now that you know how to take a screenshot on your Amazon Fire tablet, you may be wondering where your screenshots are saved. By default, all screenshots are saved in the photo gallery app on your tablet. Here's how to access your screenshots:
- Open the photo gallery app- The photo gallery app is usually located on the home screen or in the apps tray. Look for an app icon that resembles a square with a mountain in it.
- Look for the Screenshots folder- Within the photo gallery app, you should see a folder labeled "Screenshots." This is where all your screenshots are stored.
- Open the folder and select your screenshot- To view your screenshots, simply tap on the Screenshots folder and scroll through the list of images until you find the one you want to view. You can then tap on the image to view it in full-screen mode.
If you prefer to save your screenshots in a different location, you can change the default storage location in the tablet's settings. Here's how:
- Open the tablet's Settings app - The Settings app is usually located on the home screen or in the apps tray. Look for an app icon that resembles a gear.
- Scroll down and select "Storage" - Within the Settings app, scroll down until you see the "Storage" option and select it.
- Select "Internal Storage"- Under the "Storage" option, select "Internal Storage."
- Select "Pictures" - Within the Internal Storage menu, select "Pictures."
- Create a new folder- Within the Pictures folder, you can create a new folder to save your screenshots in. To do this, tap on the "New folder" button and give the folder a name.
- Set the new folder as the default storage location- Once you have created the new folder, tap on the three-dot icon in the top right corner and select "Set as default."
Your screenshots will now be saved in the new folder you created, rather than the default Screenshots folder in the photo gallery app.
How To Editing And Sharing A Screenshot On Your Fire Tablet
After you have taken a screenshot on your Amazon Fire tablet, you may want to edit or share the image. Fortunately, the tablet comes with built-in tools that allow you to do both. Here's how to edit and share a screenshot on your Fire tablet:
Editing A Screenshot
- Open the photo gallery app- The photo gallery app is usually located on the home screen or in the apps tray. Look for an app icon that resembles a square with a mountain in it.
- Find and select the screenshot you want to edit- Within the photo gallery app, navigate to the Screenshots folder and select the screenshot you want to edit.
- Tap the Edit icon- Once you have selected the screenshot, tap the Edit icon (it looks like a pencil).
- Use the editing tools - The editing tools in the photo gallery app allow you to crop, rotate, and add filters to your screenshots. You can also use the Markup tool to draw on the screenshot, add text, and highlight areas of the image.
- Save your edited screenshot- Once you have finished editing your screenshot, tap the Save button in the top right corner of the screen. Your edited screenshot will now be saved in the same location as the original screenshot.
Sharing A Screenshot
- Open the photo gallery app - The photo gallery app is usually located on the home screen or in the apps tray. Look for an app icon that resembles a square with a mountain in it.
- Find and select the screenshot you want to share- Within the photo gallery app, navigate to the Screenshots folder and select the screenshot you want to share.
- Tap the Share icon- Once you have selected the screenshot, tap the Share icon (it looks like an arrow pointing upwards).
- Choose a sharing method- The Share menu will allow you to share the screenshot via a variety of methods, including email, messaging, social media, and more. Select the method you want to use and follow the prompts to complete the sharing process.
That's it! You have successfully edited and shared a screenshot on your Amazon Fire tablet.
How To Screenshot An Amazon Fire Tablet HD 10 Model
The process for taking a screenshot on an Amazon Fire tablet HD 10 model is slightly different than other models of the tablet. Here are the steps to take a screenshot on your Fire HD 10:
- Locate the Power and Volume Down buttons - The Power and Volume Down buttons are located on the top edge of the tablet.
- Press and hold the Power and Volume Down buttons simultaneously- Press and hold both buttons for a few seconds until you see a brief animation on the screen. This indicates that the screenshot has been taken.
- Find your screenshot- Your screenshot will be saved in the tablet's photo gallery app. You can find it by opening the app and looking for the most recent screenshot.
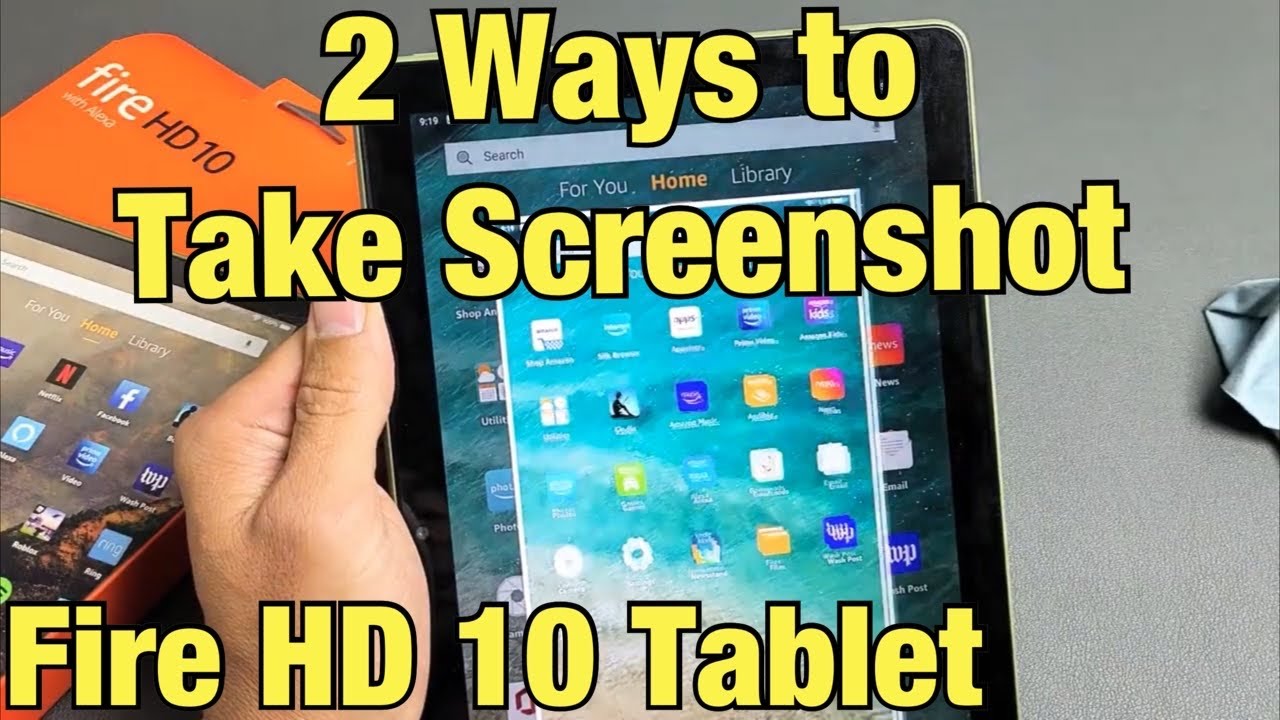
Fire HD 10 Tablet: 2 Ways to Take Screenshot
It's important to note that the Power and Volume Down buttons on the Fire HD 10 must be pressed at the same time, rather than held down simultaneously. This can take a bit of practice, but once you get the hang of it, taking screenshots on the Fire HD 10 is just as easy as on other models of the tablet.
People Also Ask
How Do I Change The File Format Of A Screenshot On An Amazon Fire Tablet?
By default, screenshots on Amazon Fire tablets are saved in the PNG file format. To change the file format, you'll need to use a third-party app that allows you to convert the file. There are many apps available on the Amazon Appstore that can do this, such as File Converter by Ice Cold Apps.
Can I Take A Screenshot Of A Video On My Amazon Fire Tablet?
Yes, you can take a screenshot of a video on your Amazon Fire tablet. However, the screenshot will capture the video frame at the exact moment you take the screenshot, so if you want to capture a specific moment in the video, you'll need to pause the video at that moment and then take the screenshot.
How Do I Take A Scrolling Screenshot On An Amazon Fire Tablet?
Unfortunately, scrolling screenshots are not a built-in feature on Amazon Fire tablets. However, there are third-party apps available on the Amazon Appstore that can enable this feature, such as LongShot for Fire Tablet.
Can I Take A Screenshot Using Voice Commands On My Amazon Fire Tablet?
Yes, you can take a screenshot using voice commands on your Amazon Fire tablet if you have the Alexa app installed. Simply say "Alexa, take a screenshot" and the tablet will capture the image.
How Can I Troubleshoot Issues With Taking Screenshots On My Amazon Fire Tablet?
If you're experiencing issues with taking screenshots on your Amazon Fire tablet, there are a few things you can try. First, make sure your device is up to date with the latest software updates. You can check for updates by going to Settings > Device Options > System Updates. If that doesn't work, try restarting your device or resetting it to its factory settings. If the issue persists, contact Amazon customer support for further assistance.
Conclusion
In conclusion, knowing how to screenshot Amazon Fire tablet is a useful skill that can help you capture important information, preserve memories, or share images with friends and family.
By following the steps outlined in this guide, you can easily take screenshots on your Fire tablet and make use of the editing and sharing features to enhance your images and share them with others. Whether you're a casual user or a power user, the ability to take and share screenshots on your Fire tablet is a valuable tool in your digital toolkit.